Procreate Tutorial for Beginners: A Step By Step Guide to Unleashing Your Creativity

Welcome to Procreate!
Procreate is the leading digital illustration app that has captured artists and beginners alike. With its remarkable features and user-friendly interface, the creative possibilities are endless. Procreate has gained immense popularity for its exceptional performance and versatility on the iPad. It has become a go-to tool for digital artists, illustrators, and designers, allowing them to bring their imaginations to life with remarkable precision and ease. As a Procreate user for over three years, Procreate has allowed me to create art that inspires, motivates, and captivates - I am going to show you how!
The user interface of Procreate is easy to learn because it is simple and intuitive. Its minimalist layout keeps tools easily accessible, allowing you to experiment and explore your artistic talents.

One of the standout features of Procreate is its extensive brush library. It offers a vast collection of customizable brushes that emulate various traditional art mediums, such as pencils, inks, paints, and even specialized effects. You can adjust brush settings like opacity, size, and flow to achieve the desired effects and mimic real-world textures.
Procreate also supports pressure sensitivity, making it compatible with a wide range of styluses, including the Apple Pencil. This feature allows you to apply varying levels of pressure to create subtle or bold strokes, replicating the natural feel of traditional art tools. When I sketch on Procreate, I personally use the 6B pencil brush to feel as if I am hand-sketching in real life.
If you are interested in using Procreate for digital painting, illustration, concept art, or even just new art styles and techniques, you are in the right place. The following sections will guide you the essential steps to get started in Procreate, from setting up your canvas to mastering the fundamental tools and techniques. Let’s dive in!
Step 1: Procreate Basics and Setup
To get started with Procreate, you will need several tools. You will need to have an iPad and a stylus or Apple Pencil. For reference, I have the 10.5-inch Apple Ipad Air (3rd generation) and the first generation Apple pencil. Once you have these tools, you can start downloading and installing Procreate.
Download and Install Procreate
Once you have the tools ready, you can go to the App Store on your iPad and and search for Procreate. Once you’ve found it, click Get or Download button to start the installation process. Procreate is a paid app but it is one-time payment and no subscription is required. Continue to follow the on-screen prompts to complete the installation.

Explore the Interface
The next step is to start familiarizing yourself with the interface. At the top of the screen, you'll find the toolbar, which provides quick access to essential tools and options. Familiarize yourself with the various icons and their functions. Take a moment to explore these sections and get a feel for the overall layout.
Customize Your Preferences
Procreate allows you to customize settings to your preferences and work flow. You can switch to light mode, adjust gesture controls, modify canvas resolution and more. Feel free to experiment with these settings. I personally have enjoyed and stuck to the default settings. To access Preferences, click the wrench icon on the top left corner of the screen and click Preferences.
Create Your Canvas
When you are ready to create your artwork, click on the + icon in the top right corner of the screen. This will open the canvas creation menu. You can use the default canvas sizes or create your own. When you create a new canvas size, be sure to set the DPI resolution and color profile that suits your project. I recommend using 300 DPI resolution for all canvas sizes in case you do want to print your artwork later on. This will avoid having you recreate them.
To learn more about color profiles, refer to The Beginner’s Guide to Coloring in Procreate blog post.
Familiarize Yourself with Gestures
One of the most powerful tools in Procreate is using hand gestures to execute a command. This will help streamline your workflow and provide quick access to essential functions. Several key gestures when you are on the canvas are listed below:
The two-finger pinch gesture to zoom in or out
The two-finger quick pinch to fit to screen
Moving two fingers left and right to scrub and delete the contents of that layer
The two-finger tap to undo your last action or three-finger tap to redo it
The three-finger swipe down allows you to access the copy and paste panel
The four-finger tap allows you to view the canvas in full size without tools
Use your finger to paint, smudge, or erase
Scrunching gesture of layers in the Layer panel allows you to merge layers
The video below shows the ten gesture commands in Procreate.
Yay, you did it! You've successfully set up Procreate and familiarized yourself with its user interface and basic features. Next, you can learn about brushes and foundational tools in Procreate.
Step 2: Brushes and Essential Tools
One of the reasons Procreate has become a favorite among digital artists is its extensive collection of tools and brushes that simulate traditional art mediums. I personally have downloaded a unique collection oof Bardot brushes and have used them to illustrate spreads for a children’s book.

Brush Basics
Here are things to know about brushes in Procreate:
Brush Library: The Brush Library in Procreate is a treasure trove of artistic possibilities. To access it, tap on the brush icon located at the top right corner of the screen. Here, you'll find a wide array of pre-installed brushes that mimic various traditional art mediums such as pencils, inks, paints, and more.
Brush Customization: While the pre-installed brushes in Procreate are incredibly versatile, you can further customize them to suit your artistic style and preferences. To modify a brush, select it from the Brush Library, and tap on the brush settings icon (looks like a slider) at the top left corner of the screen.
In the brush settings menu, you can adjust various properties such as size, opacity, flow, and blending modes. Explore the different settings and experiment with them to achieve the desired effects and textures in your artwork. Additionally, you can create your own custom brushes by selecting the New Brush or Duplicate Brush option.
Key Procreate Tools
A core part of using Procreate is understanding its essential tools and features to help maximize your artistic workflow. These will be key to building your foundational knowledge and basics of Procreate, as well as, help you figure out potential technical problems later on.
Smudge Tool: The Smudge tool in Procreate is a powerful tool for blending colors and creating smooth transitions. You can access the Smudge tool by tapping the hand pointing down icon on the upper right hand corner. With this tool, you can simulate the effect of smudging paint or blending charcoal, enabling you to achieve realistic and expressive results.
Eraser Tool: The Eraser tool is an essential tool for making corrections and removing unwanted elements from your artwork. To access it, tap on the eraser icon. You can adjust the size, opacity, and even the brush of the eraser to precisely remove parts of your artwork or create interesting textures and effects.
Selection Tools: Procreate provides a range of selection tools that allow you to isolate and manipulate specific areas of your artwork. The selection tools include Rectangular, Elliptical, Freehand, and Magic Wand selections. These tools enable you to refine or apply changes to specific regions without affecting the rest of your artwork. To access the selection tools, tap on the selection icon located at the top left corner of the screen.
Below is a video showing how to make shapes using the Selection tool.
Transform Tools: The Transform tools in Procreate enable you to scale, rotate, distort, and warp your artwork using the Liquify tool. These tools are invaluable for adjusting proportions, repositioning elements, or creating dynamic compositions. To access the Transform tools, tap on the Transform icon (looks like a box with arrows) located at the top right corner of the screen.
Great, you’re on a roll! Understanding brush capabilities and learning these essential tools will give you the freedom to express your artistic vision with precision and creativity. This will also enhance your workflow and help you become more efficient with your drawing time.
Step 3: Basic Procreate Techniques
Now that you're familiar with the essential tools and brushes in Procreate, it's time to delve into the fundamental techniques that will help you create stunning digital artwork. In this section, we will explore basic techniques that will serve as a foundation for your artistic journey in Procreate.
Layer Management
As any user of a design platform will know, layer management is critical when creating art. Mastering layer management is crucial for organizing your artwork and implementing changes efficiently. Layers allow you to work on different elements independently. Below are a few techniques to build your layer management skills:
Creating New Layers: To create a new layer, tap on the layers icon located at the top right corner of the screen and select the + icon. This allows you to work on different parts of your artwork without affecting the rest.
Adjusting Layer Opacity: You can control the transparency of a layer by adjusting its opacity. Simply select the desired layer and use the opacity slider in the layers panel. This technique is useful for creating overlays, shadows, or blending effects.
Clipping Masks: Clipping masks are a technique that allows you to apply changes or effects only to the specific layer below it. To create a clipping mask, select the layer you want to mask. Once the layer properties displays on the right, select Clipping Mask. This technique is useful for adding texture, shading, or color adjustments to specific areas of your artwork.
Blending and Smoothing
Procreate offers various blending and smoothing techniques that add depth and realism to your digital artwork. Here are two commonly used techniques:
Color Blending: Use the Smudge tool or soft brushes with low opacity to blend colors seamlessly. This technique is particularly effective for creating smooth gradients and soft transitions between different shades.
Smoothing Brush Strokes: To achieve smoother brush strokes, enable the Streamline option located in the brush settings. This feature assists in creating more precise and controlled lines, especially for intricate details.
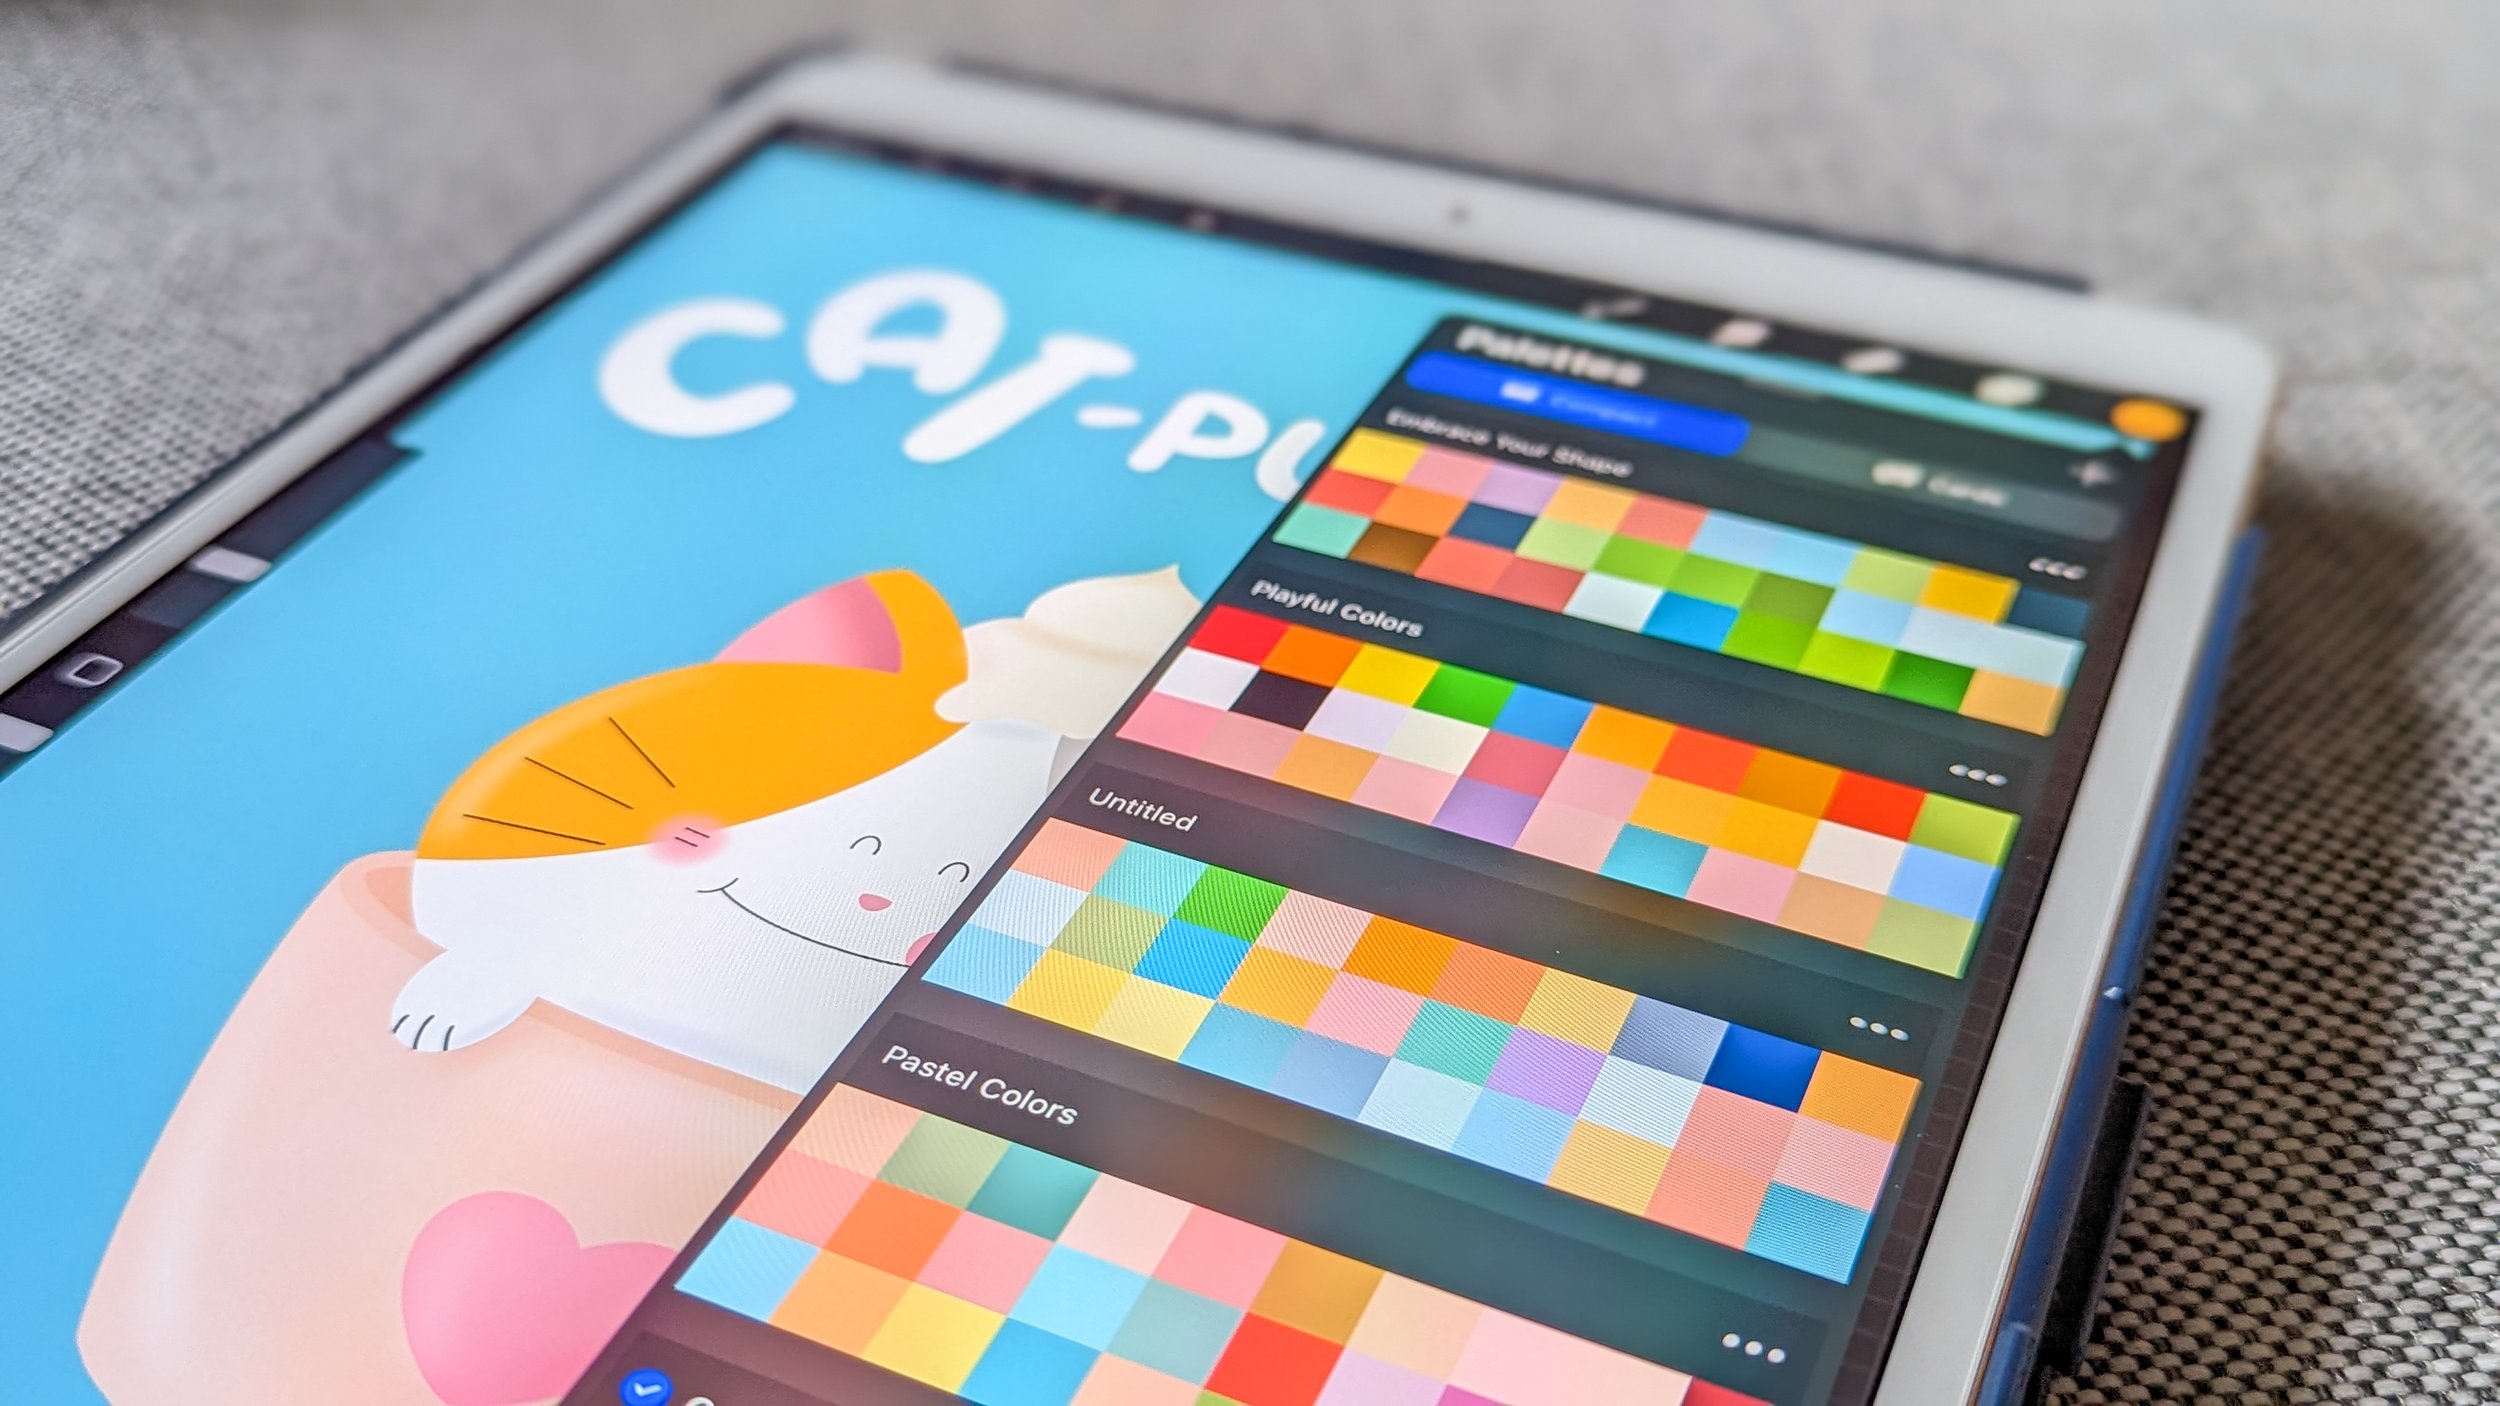
Color Selection and Mixing
Procreate provides multiple ways to select and mix colors, allowing you to achieve the desired color palette for your artwork. For more information about coloring in Procreate, including color profiles, color palettes, and color harmony, head to the blog post The Beginner’s Guide to Coloring in Procreate.
Below are a couple of techniques to consider:
Color Picker: Use the color picker tool to select colors from your existing artwork or reference images. Tap and hold the color you want to capture, and it will be saved for future use.
Color Harmony: Procreate offers a built-in Color Harmony feature that suggests complementary or analogous colors to create harmonious palettes. Access this feature by tapping on the color wheel icon in the top right corner of the screen.
Mixing Colors: Experiment with blending colors directly on the canvas. Start with the base colors and use the Smudge tool or a soft brush to mix them together, creating new shades and tones. For a more advanced technique, you can also play with adding different colors on the same layer and using the gradient or Liquify tool to create a unique blending effect.

Brushwork Techniques
Mastering brushwork techniques in Procreate allows you to create varied textures, line weights, and artistic effects. Below are a few techniques to explore:
Varying Brush Opacity: Adjust the pressure sensitivity of your brush to create dynamic and expressive brushstrokes. Apply light pressure for delicate lines or increase pressure for bolder strokes.
Texture Brushes: Procreate offers a range of texture brushes that can add interesting effects to your artwork. Experiment with different textures to create depth and visual interest.
Layer Blending Modes: Explore different layer blending modes to enhance the interaction between colors and brushes. Modes like Multiply, Overlay, and Soft Light can create stunning effects and bring depth to your artwork.
By exploring and practicing these basic techniques in Procreate, you'll gain confidence in your digital art skills and create things you did not think was possible. Remember to experiment, embrace mistakes as learning opportunities, and let your imagination guide you.
Step 4: Add Color and Textures
Adding color and textures to your artwork in Procreate brings it to life and adds depth and visual interest. There are a couple of ways to effectively incorporate color and textures into your digital artwork.
Color Selection
Choosing the right color palette is essential for setting the mood and conveying emotions in your artwork. Procreate offers several tools and features to assist you in selecting and managing colors:
Color Palettes: Procreate provides pre-installed color palettes and the option to create custom palettes. Explore the pre-installed palettes for inspiration, or create your own by tapping on the color palette icon in the top right corner of the screen.
Color Harmony: Utilize the Color Harmony feature mentioned earlier to find complementary or analogous colors that work well together. This feature can help create a cohesive and harmonious color scheme for your artwork.
Color Adjustments: Procreate allows you to adjust colors using various tools and options. You can modify hue, saturation, brightness, and more to achieve the desired color variations.
Adding Textures
Textures can add depth and realism to your artwork, simulating the look and feel of traditional art mediums. Procreate offers multiple ways to incorporate textures into your digital creations:
Texture Brushes: Experiment with the texture brushes available in the Brush Library. These brushes simulate different textures, such as paper grain, canvas, or watercolor, adding a tactile quality to your artwork.
Layer Blending Modes: Utilize layer blending modes to blend textures seamlessly with your artwork. Modes such as Overlay, Soft Light, or Multiply can enhance the interaction between colors and textures, creating visually interesting effects.
Adding Highlights and Shadows
Highlights and shadows are important in giving depth and dimension to your artwork. You can separate layers for highlights and shadows, allowing you to adjust their opacity and blend them smoothly with your artwork. My personal technique for shading is below:
Prior to starting, have an idea of where the light is coming from and where the shadows will be. This will guide you on where to put your highlight and shadow effects.
How to Create Highlight Effects
Go to the Soft Brush palette and use either Soft Brush or Medium Brush.
Set your current color to white.
Start applying a stroke and adjust the size and opacity of the brush as necessary. This might take a few tries to get the effect you want.
Experiment with other light colors, such as yellow, to create a glow effect.
How to Create Shadow Effects
Using the same Soft Brush tool, set your current color to black. Adjust the layer you are using to Overlay mode. The beauty of Overlay mode is that it automatically creates a darkened color over the drawing (sort of like Multiply mode but better).
Start gently adding strokes. Adjust the size and opacity as needed. Too much will create a darkened highlight effect.
This process is also shared in the video below.
How to Create a Glow Effect
As a bonus technique, I wanted to share how you can create a glow effect, as shown on the stars and half moon in the art below.
Ensure you are in the correct layer before applying this effect.
Click on the Adjustments button on the upper right hand corner of the canvas and a list of adjustment tools will appear. Select Bloom.
The Bloom settings will appear on the bottom and you can adjust accordingly. To adjust the bloom effect, head the top of your canvas and slide your pen to the right. The blue highlight bar will guide you on how you much are increasing or decreasing the effect.
When you are content with the bloom effect, let go or click somewhere else on the screen. Allow yourself to explore and make adjustments until you achieve the desired effect.
By incorporating color and textures effectively into your artwork, you can elevate your artwork to the next level. Don't be afraid to try different color combinations, brush textures, or adjustment effects. It’s all about using Procreate to bring your artistic vision to life.
Step 5: Export and Share Your Artwork
Proud of you for making it this far! Now it’s time to share your artwork with the world.
Exporting Your Artwork: Procreate allows you to export your artwork in different file formats to suit your specific needs. To export your artwork, follow these steps:
Click on the Wrench icon located at the top left corner of the screen to access the Actions menu.
Select Share from the list of options.
Choose the desired file format, such as JPEG, PNG, or TIFF.
Adjust the export settings, including resolution and quality, if necessary.
Tap Export to save your artwork to your device's photo library or other preferred location.
If you also have a Mac computer, you can simply Airdrop your artwork. I highly recommend saving it in a file that allows you to access the layers on the computer, such as PSD (Photoshop) or Procreate. This will allow you to further enhance and manipulate your artwork as desired.
You can also share your artwork on your social media as well. If you are already logged into your social media accounts on your iPad, you can click Share from the Actions menu to share on a social media platform, such as Instagram, Facebook, or Twitter.

Don’t be afraid to share your artwork - this will help you reach a wider audience, gain recognition for your talent, and inspire others with your digital creations. You can also get noticed by brands and even start making money with your art!
Below are sample creations I have done in collaboration with brands:
More Displate posters can be viewed here.
More SHEIN merchandise can be viewed here.
I hope this tutorial was helpful in learning more about the basics of getting started in Procreate and help kickstart your digital art journey. Once you get the hang of the dynamic and versatile tools Procreate offers, you can really unleash your creativity.
All of this is important to the growth of you becoming a more well-rounded and confident digital artist. You will also learn how to use and leverage these foundational tools effectively and, in turn, draw art that fits your creativity, personality, and style.
Happy creating! Share below what you first drew in Procreate in the Comments below, I would love to know. Mine was a cat in a coffee cup because I love both!
Good luck,

Interested in working with me? Fill out the Contact Form.
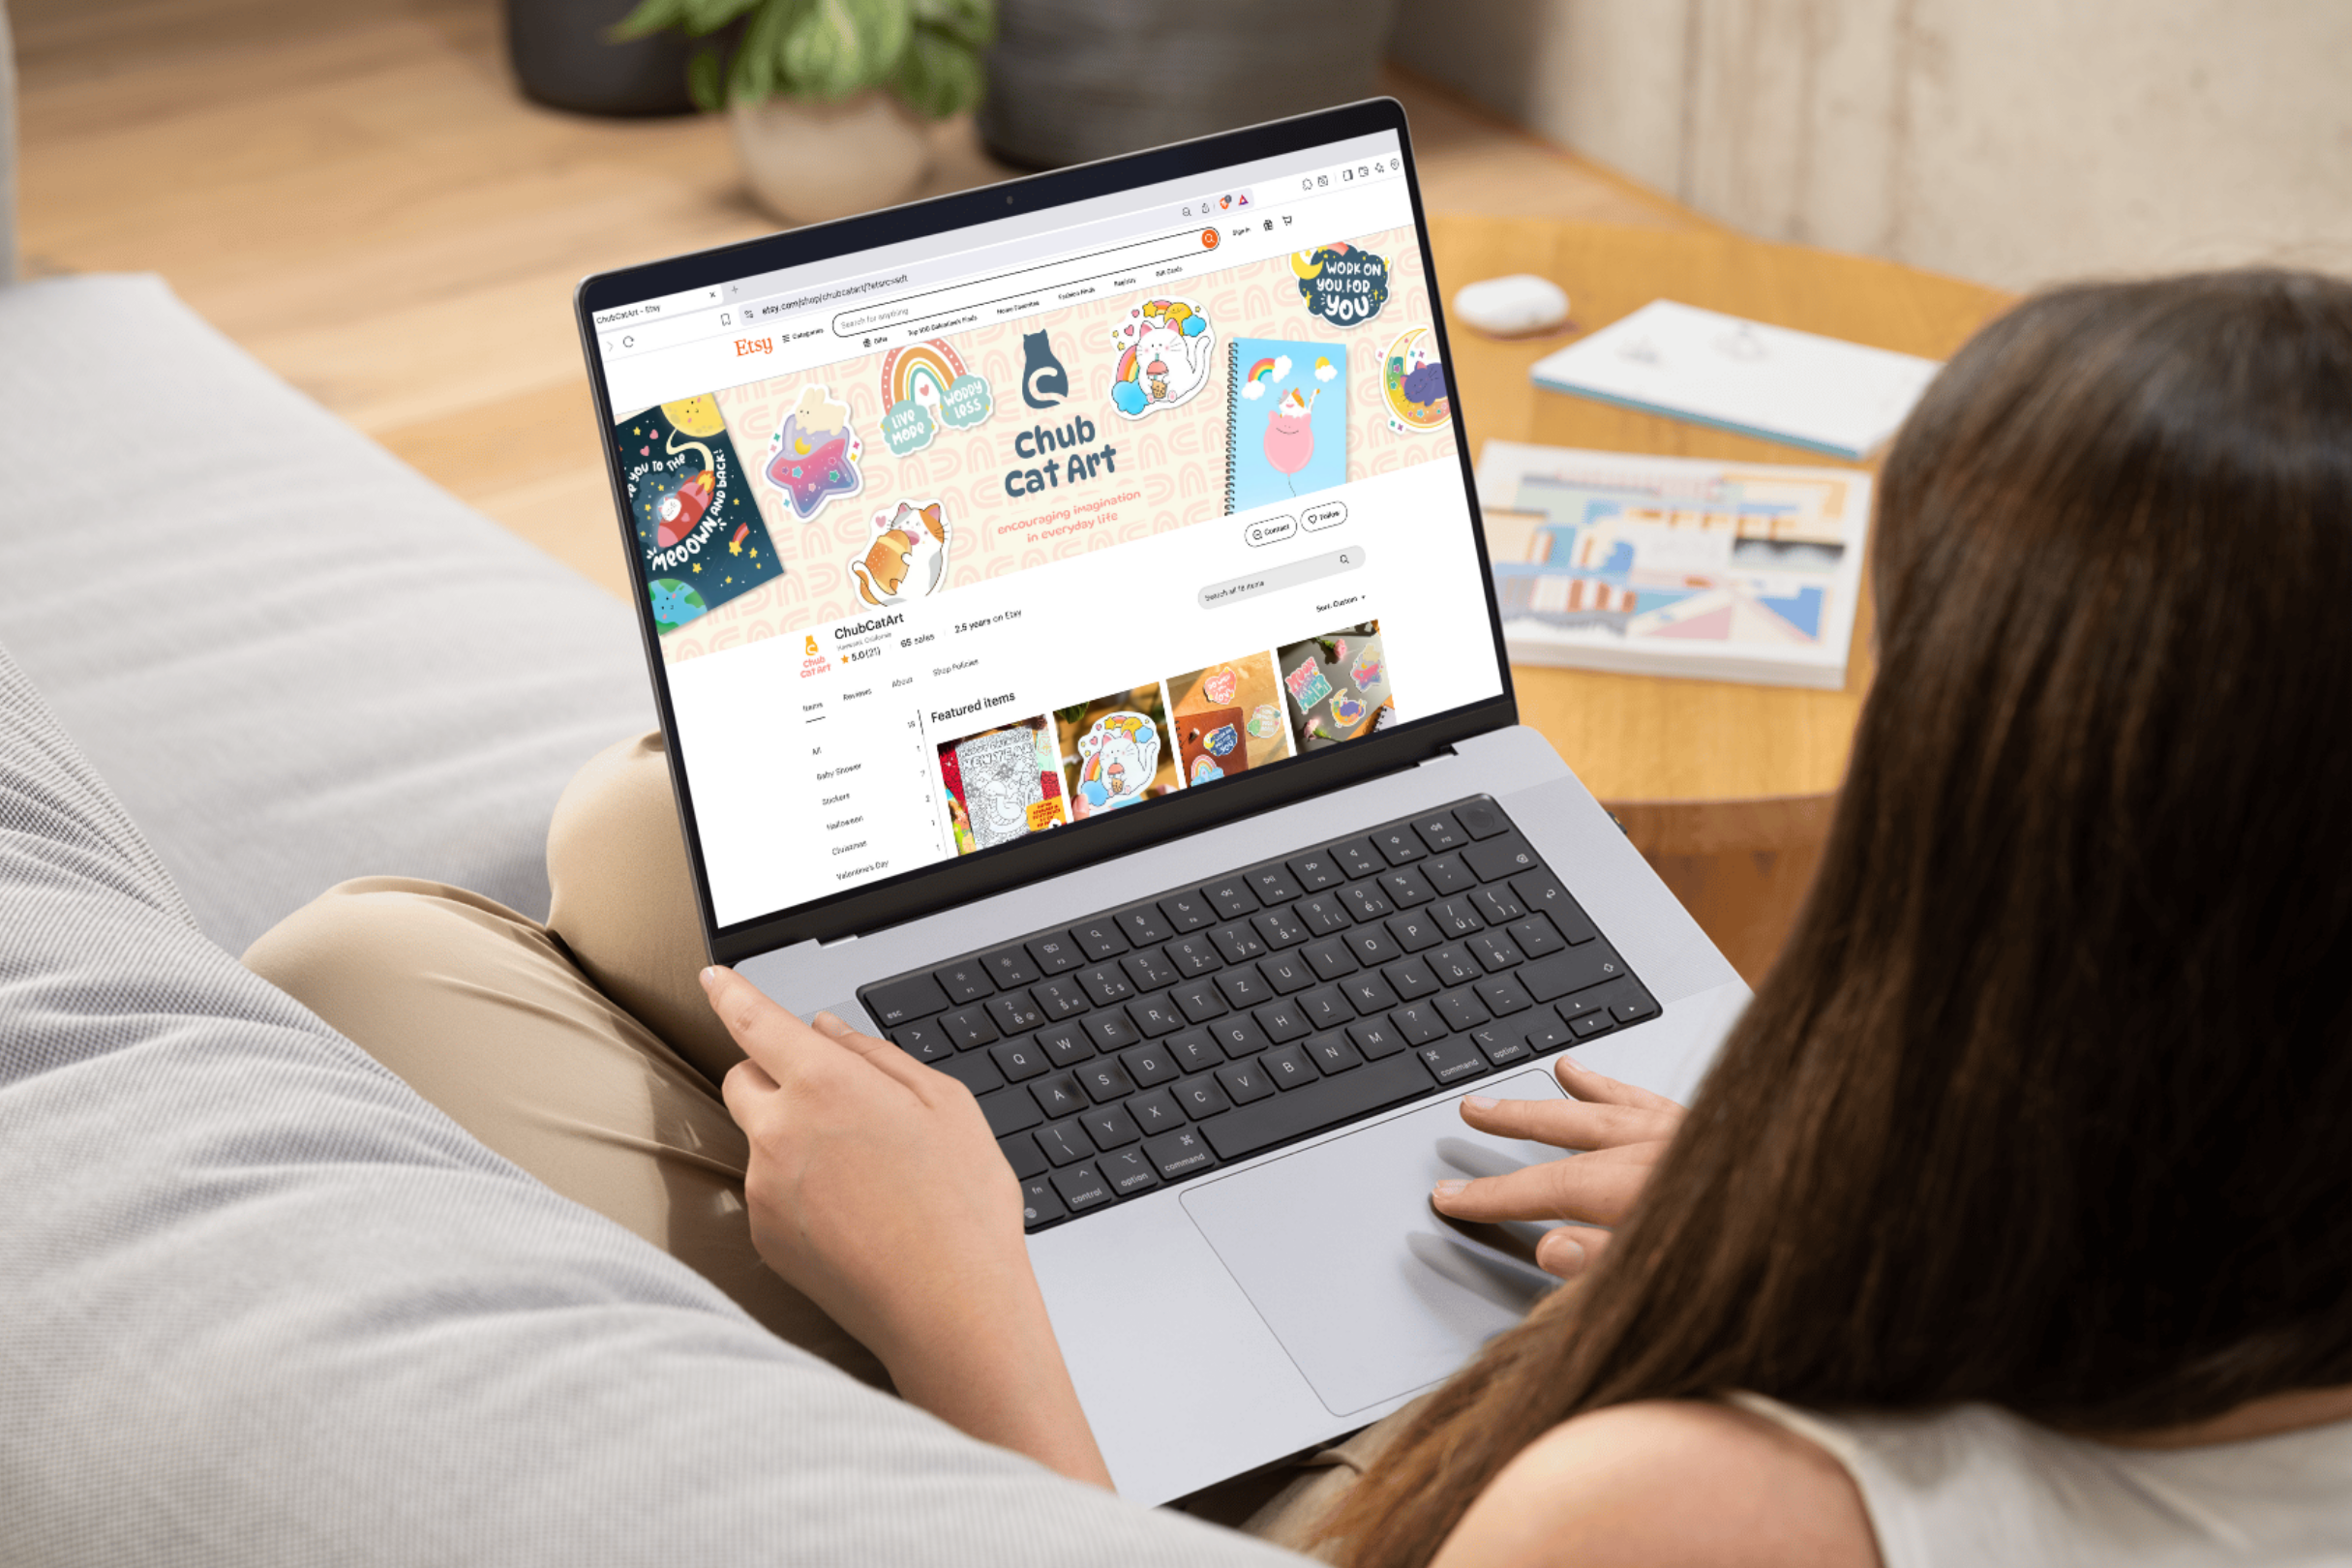
Check out my portfolio or my latest work on my IG @chubcatart!
For brand collaborations, check out my media kit.

If you are looking to build a strong online presence with your art, you are in the right place! Here at ChubCatArt you will find resources that will help you stand out and be seen in your art journey. Take the leap and let’s get creative together! Read more.
You might also enjoy…