How to Use the Symmetry Tool in Procreate
One of the highlights of using the Procreate app is their Symmetry tool feature. This is great tool for drawing symmetrical objects, such as faces, flowers, and stars. The Symmetry tool has been one of my favorite tools to use and one I use constantly in my digital art, especially when drawing the eyes and ears of my cat. It’s also very handy when you want to draw objects symmetrically, such as a pot or a cup.
How to Mirror Draw in Procreate
There are a couple of symmetrical options to explore when using the Symmetry tool. The video below for shows a preview on how to use the symmetry tool in Procreate.
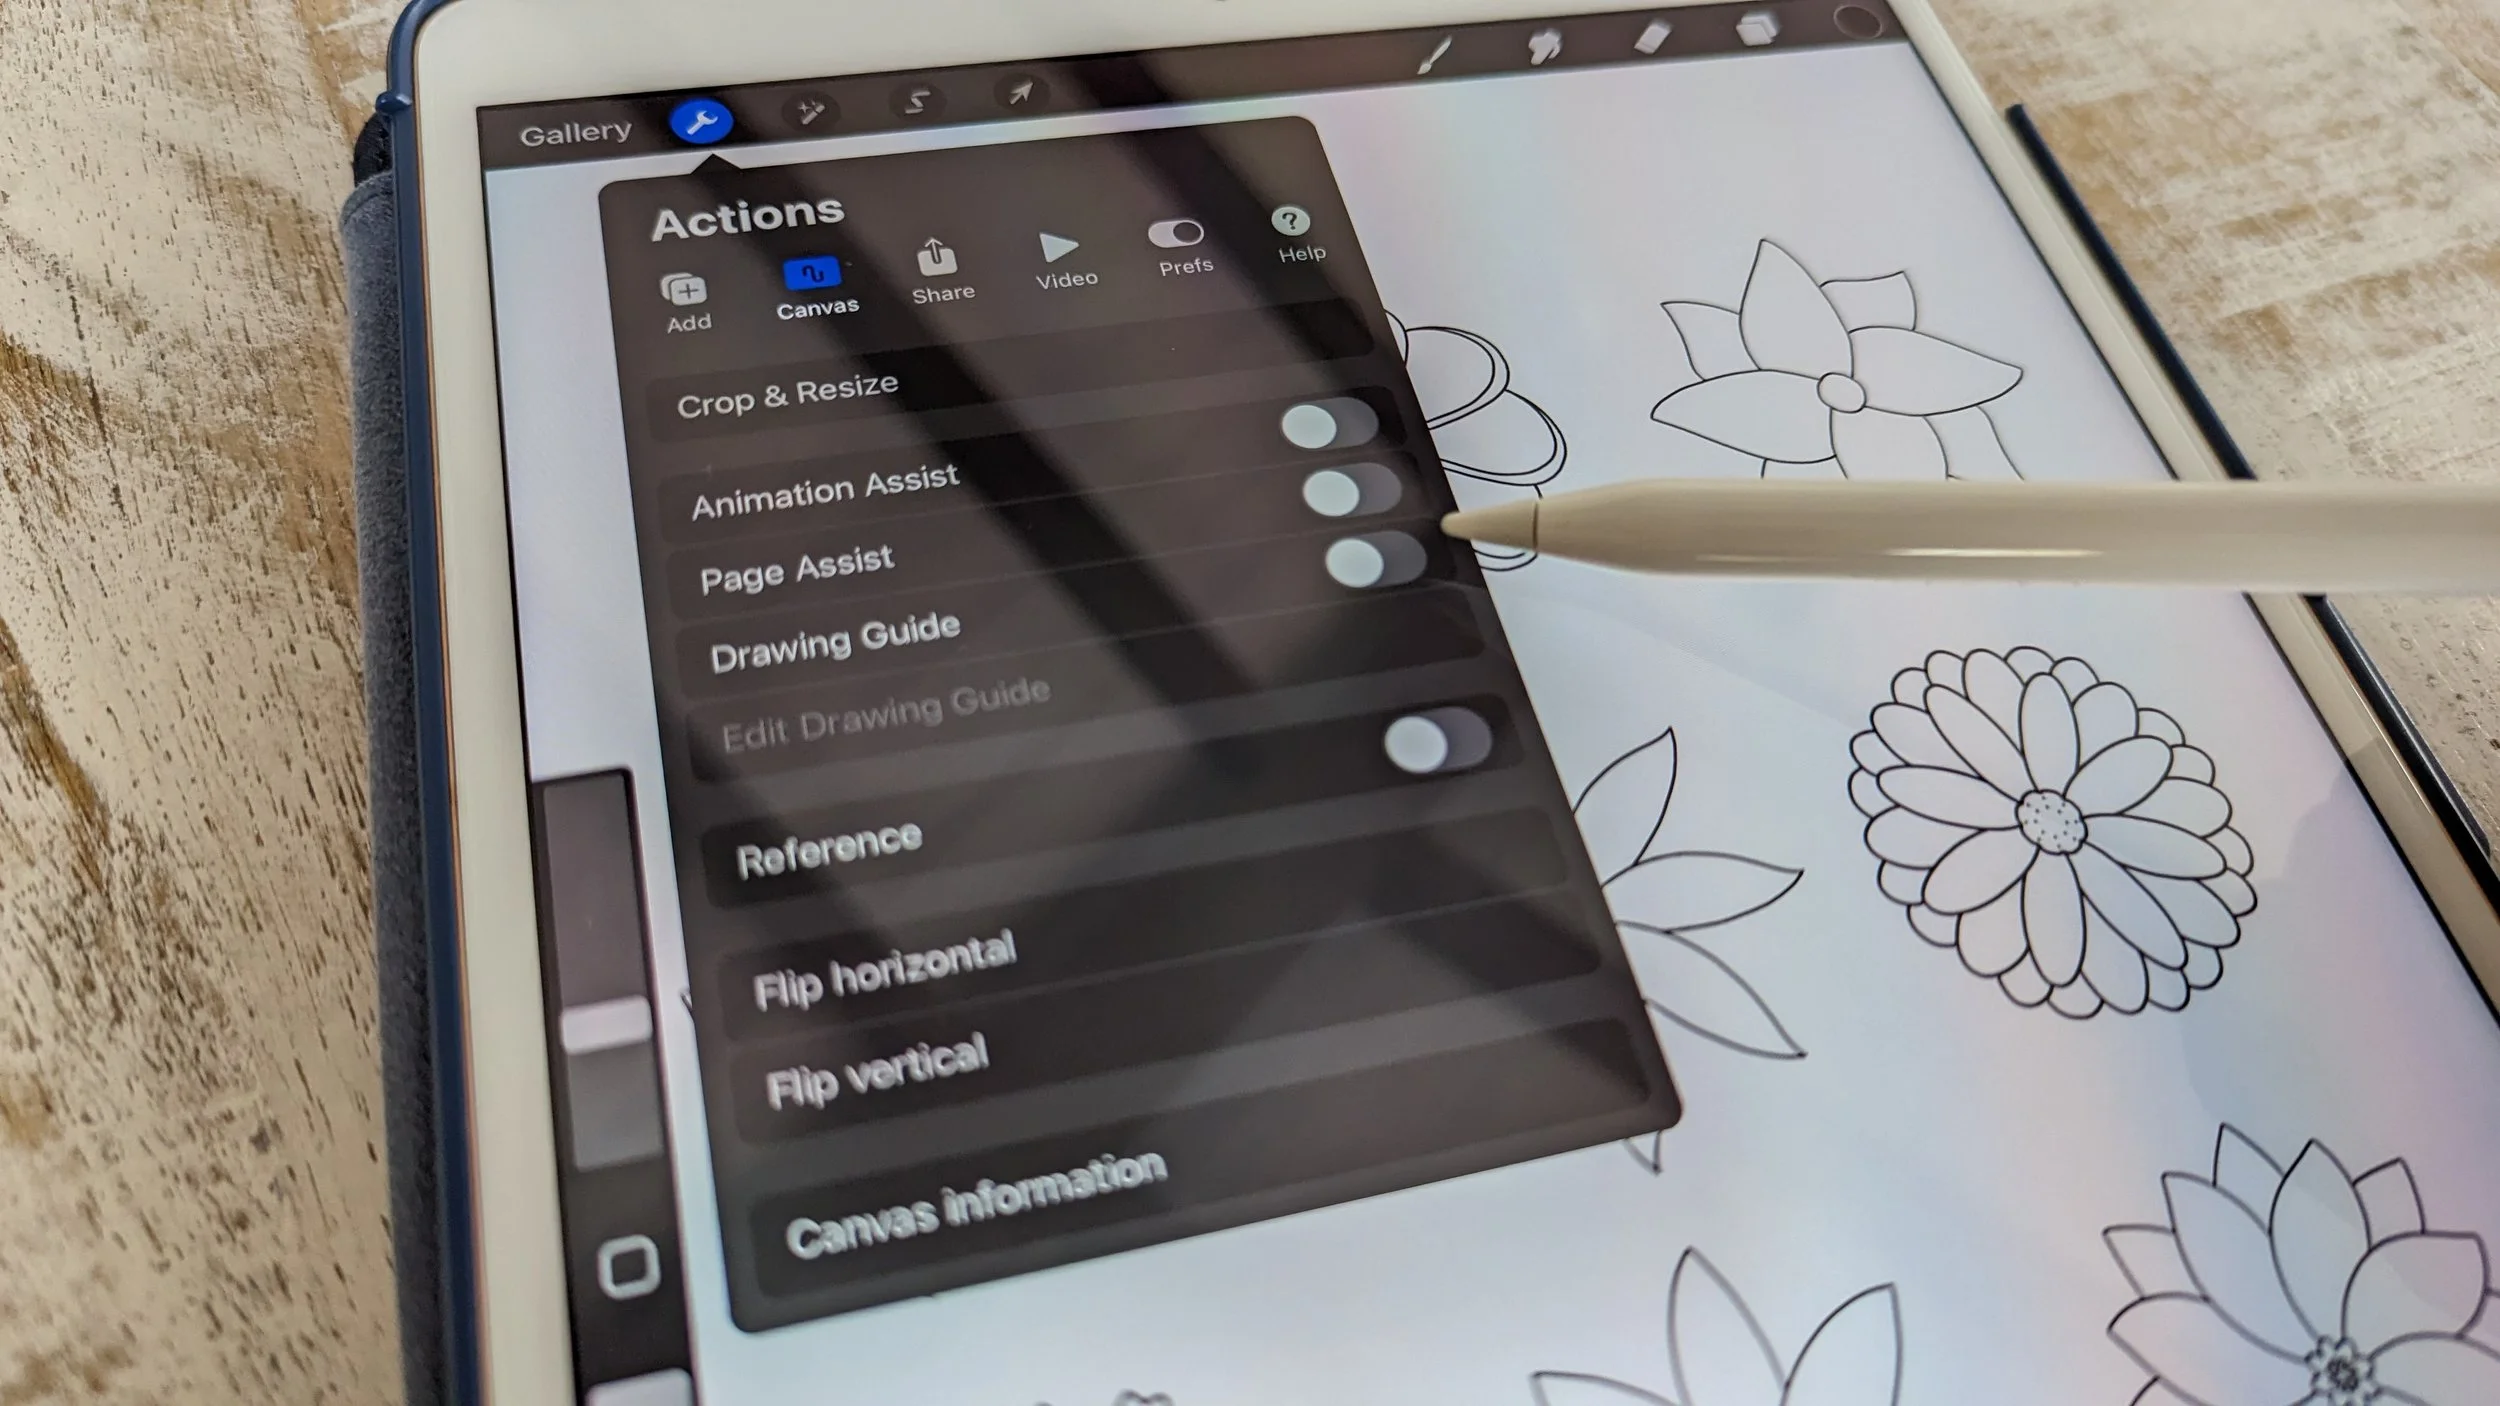
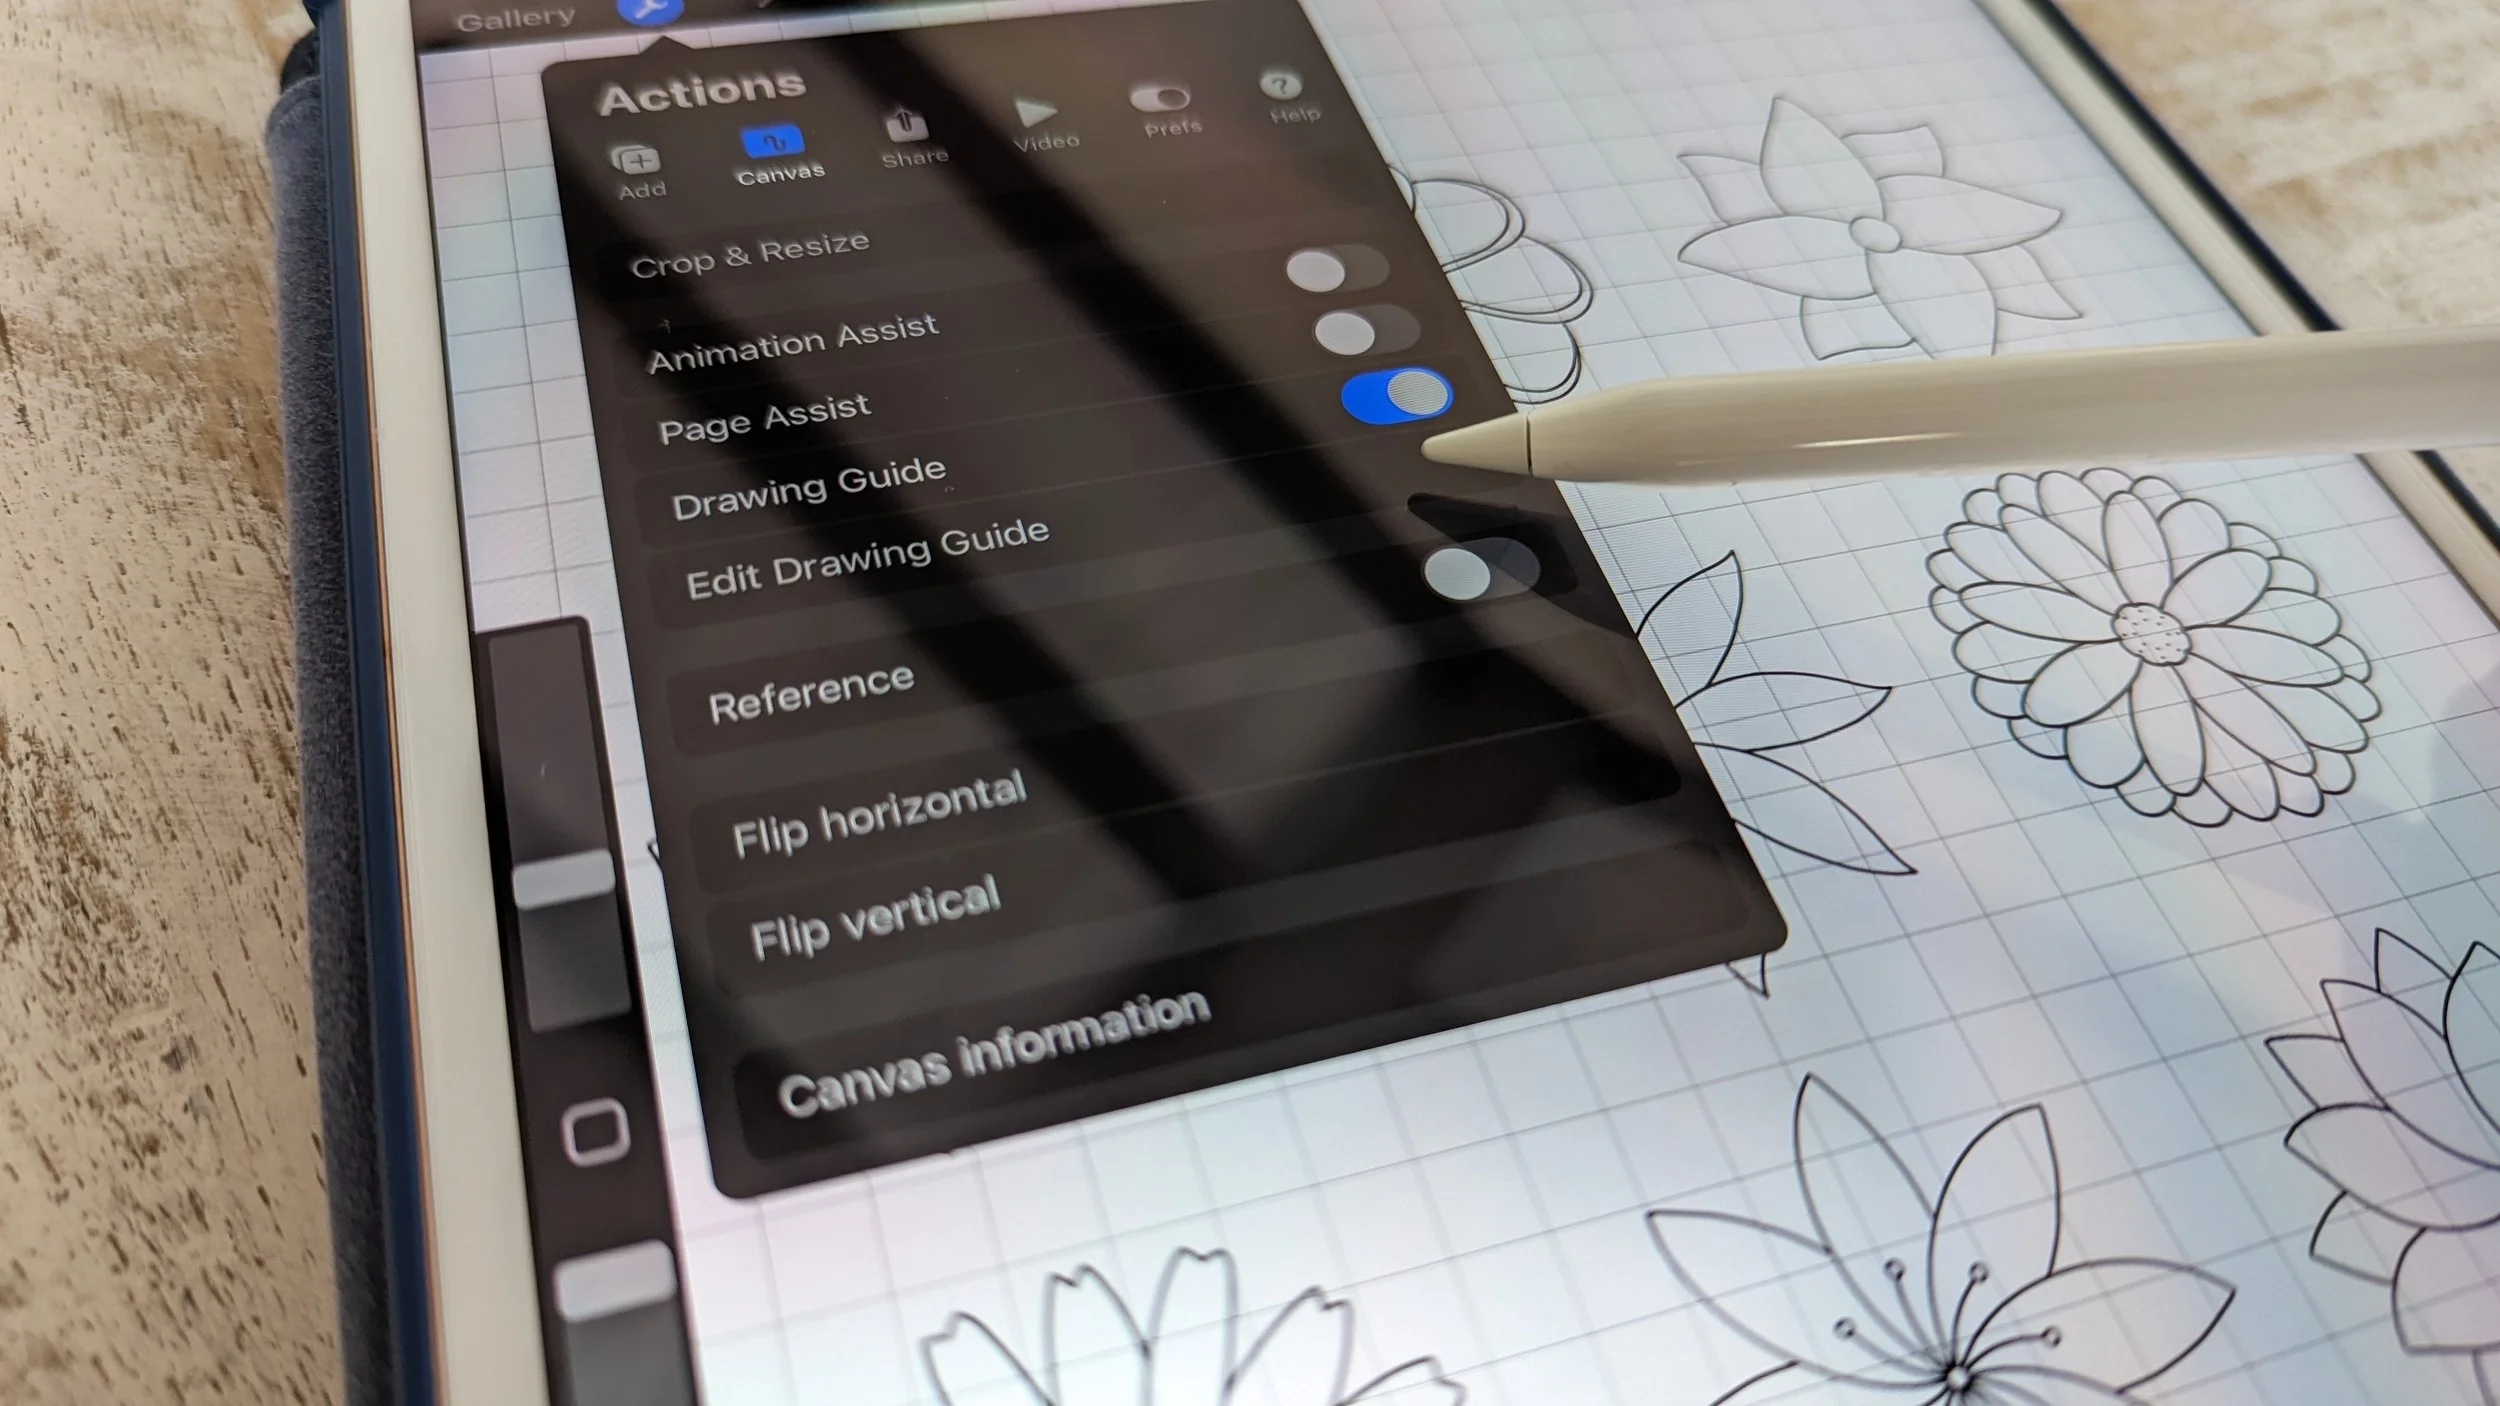
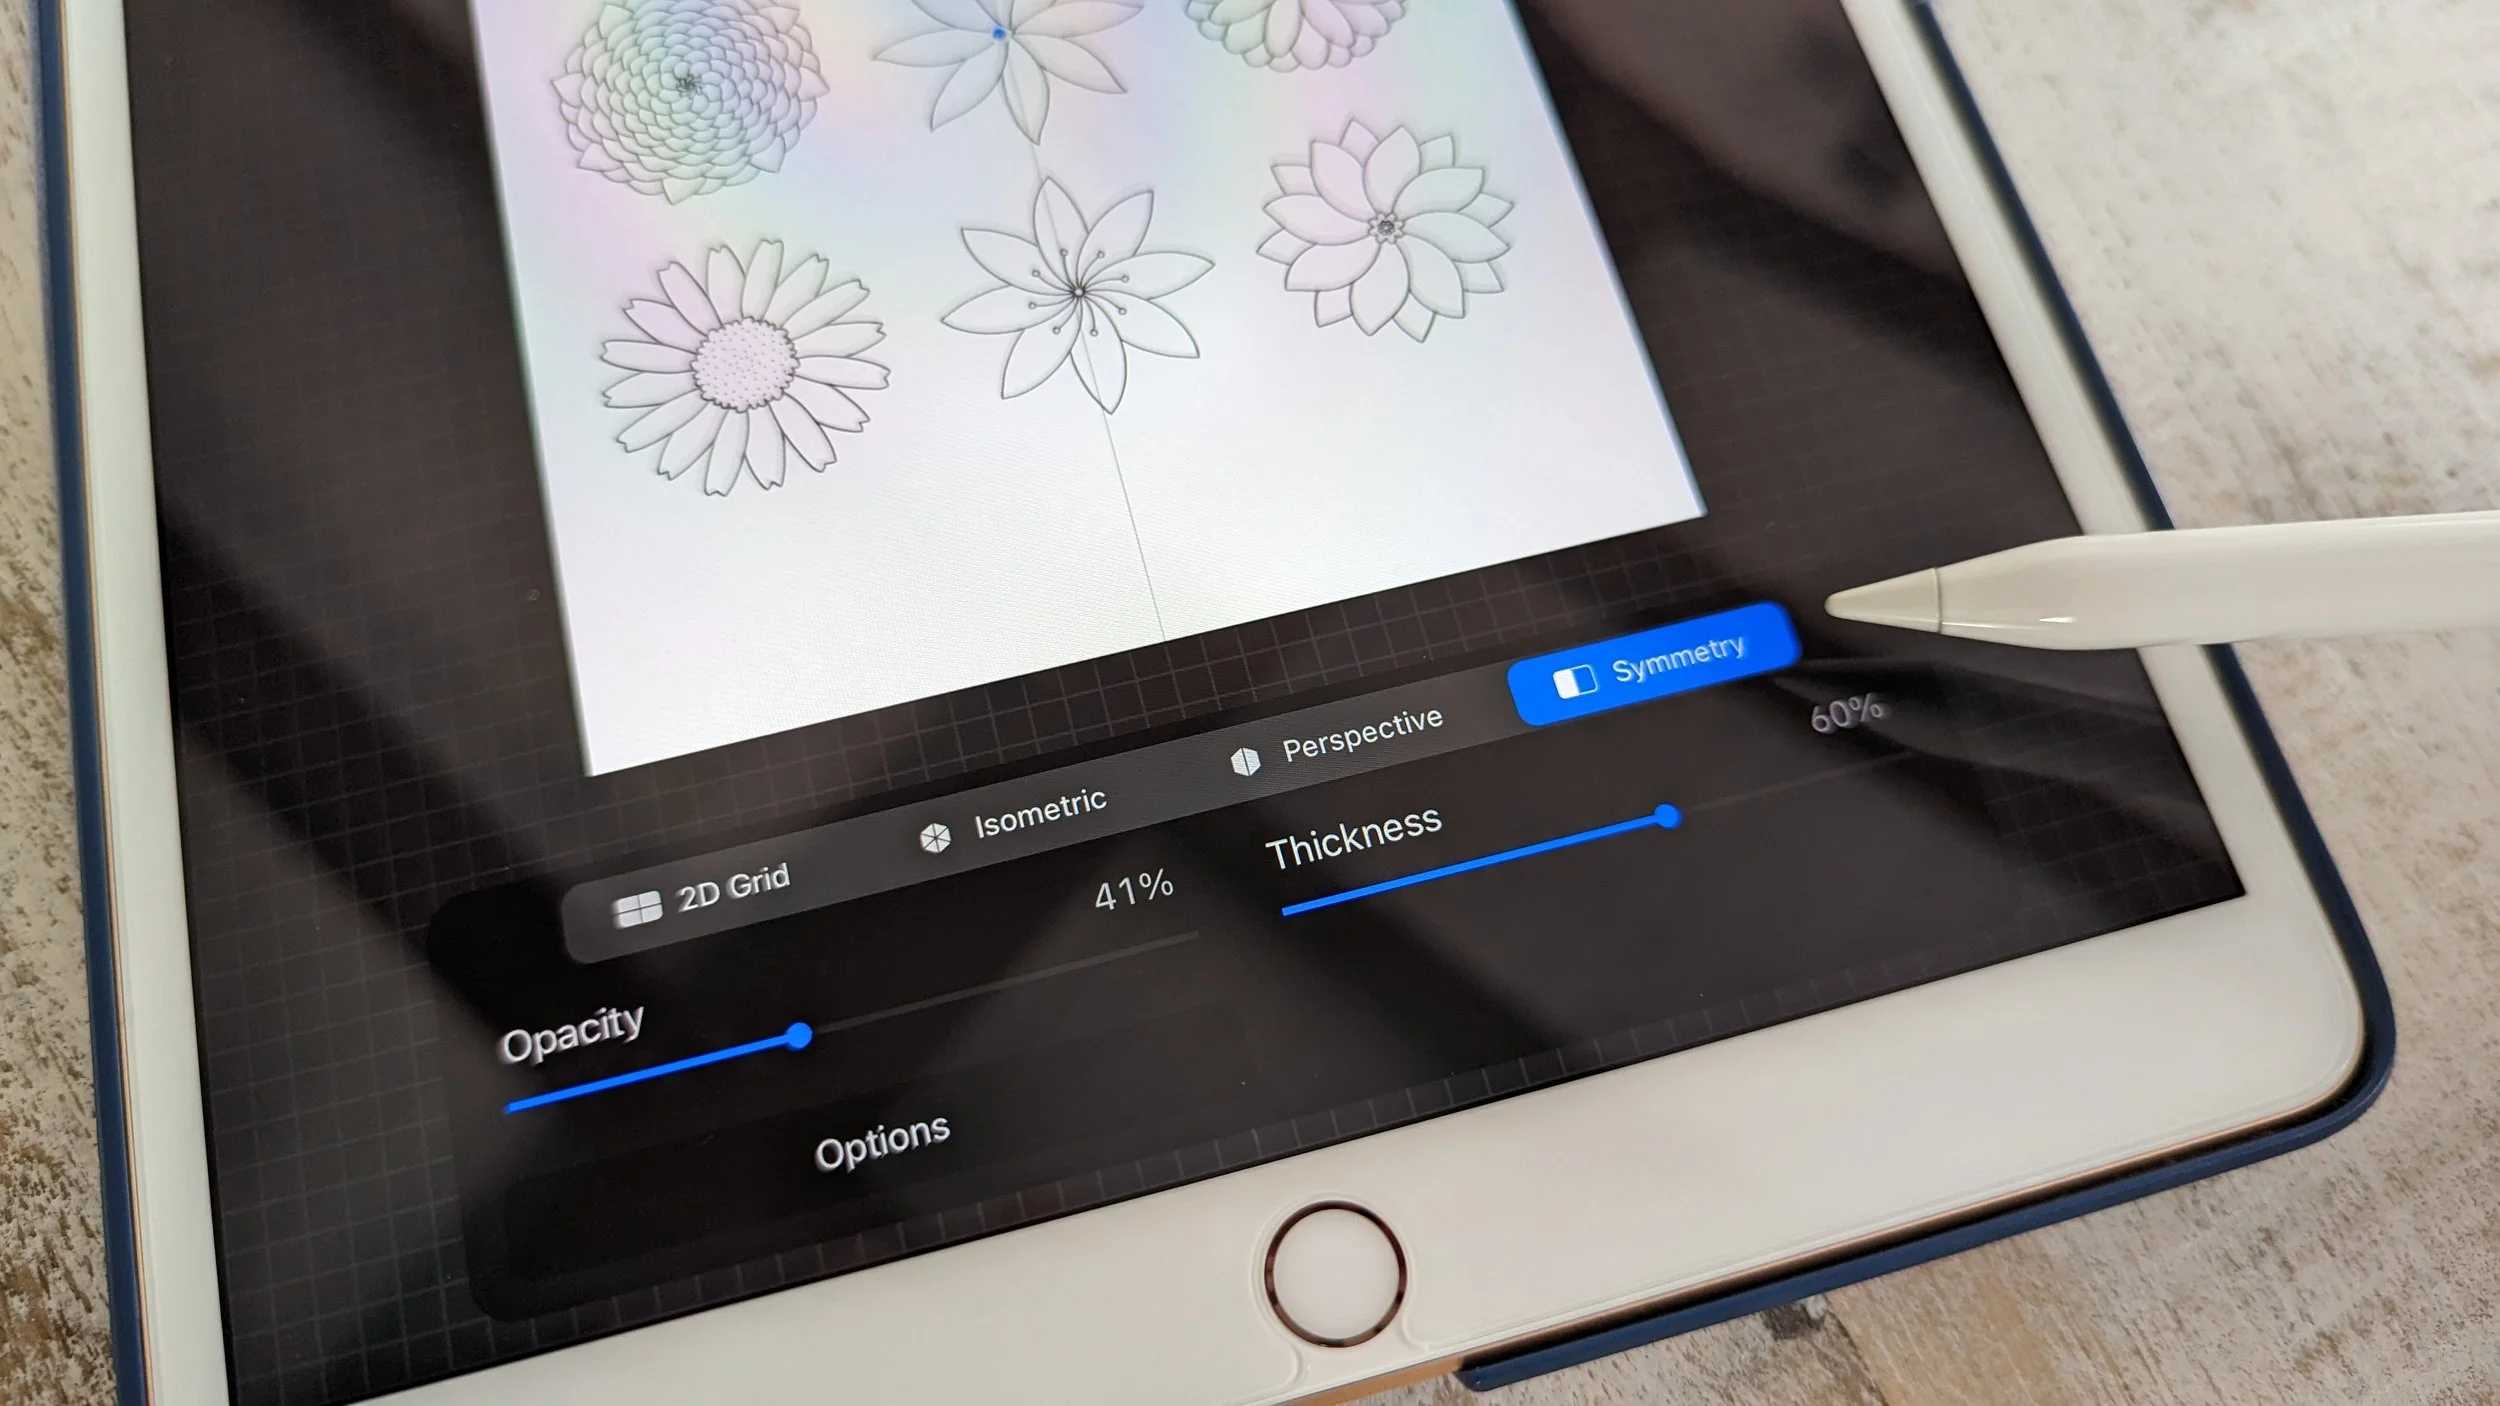
To access the Symmetry tool, go to the wrench icon and select Drawing Guide.
Once the Drawing Guide is on, select Edit Drawing Guide.
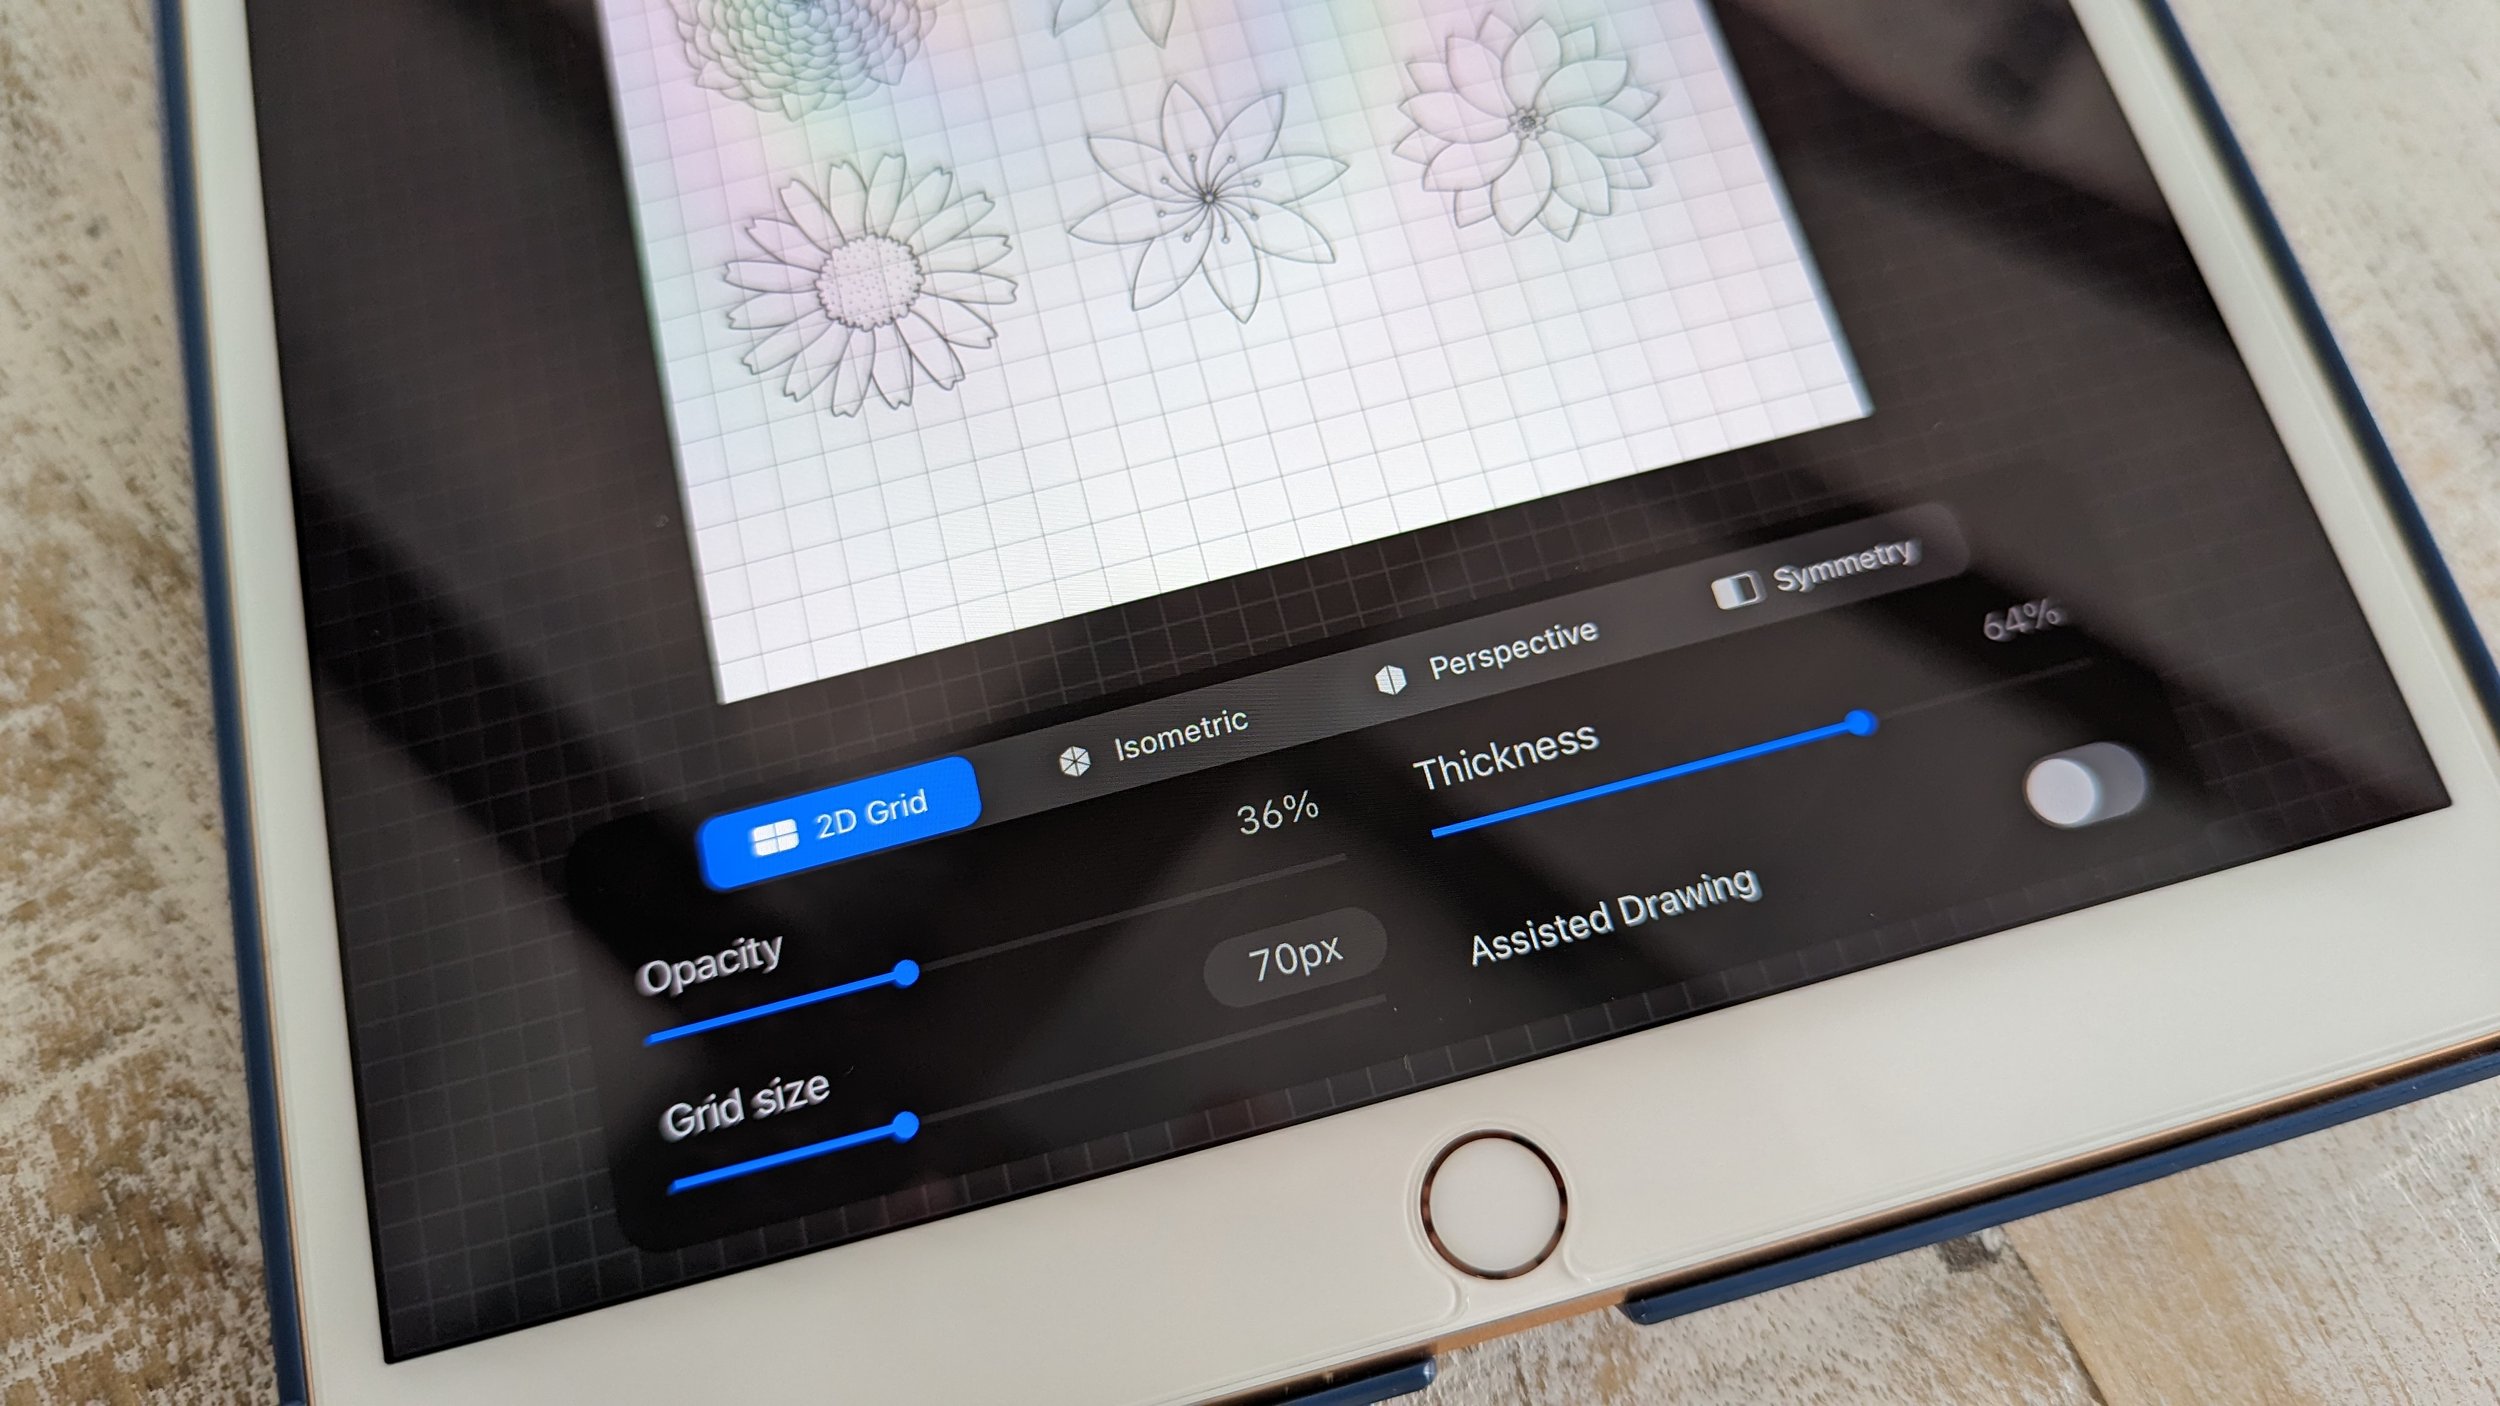
The bottom panel will appear showing several options to edit your drawing.
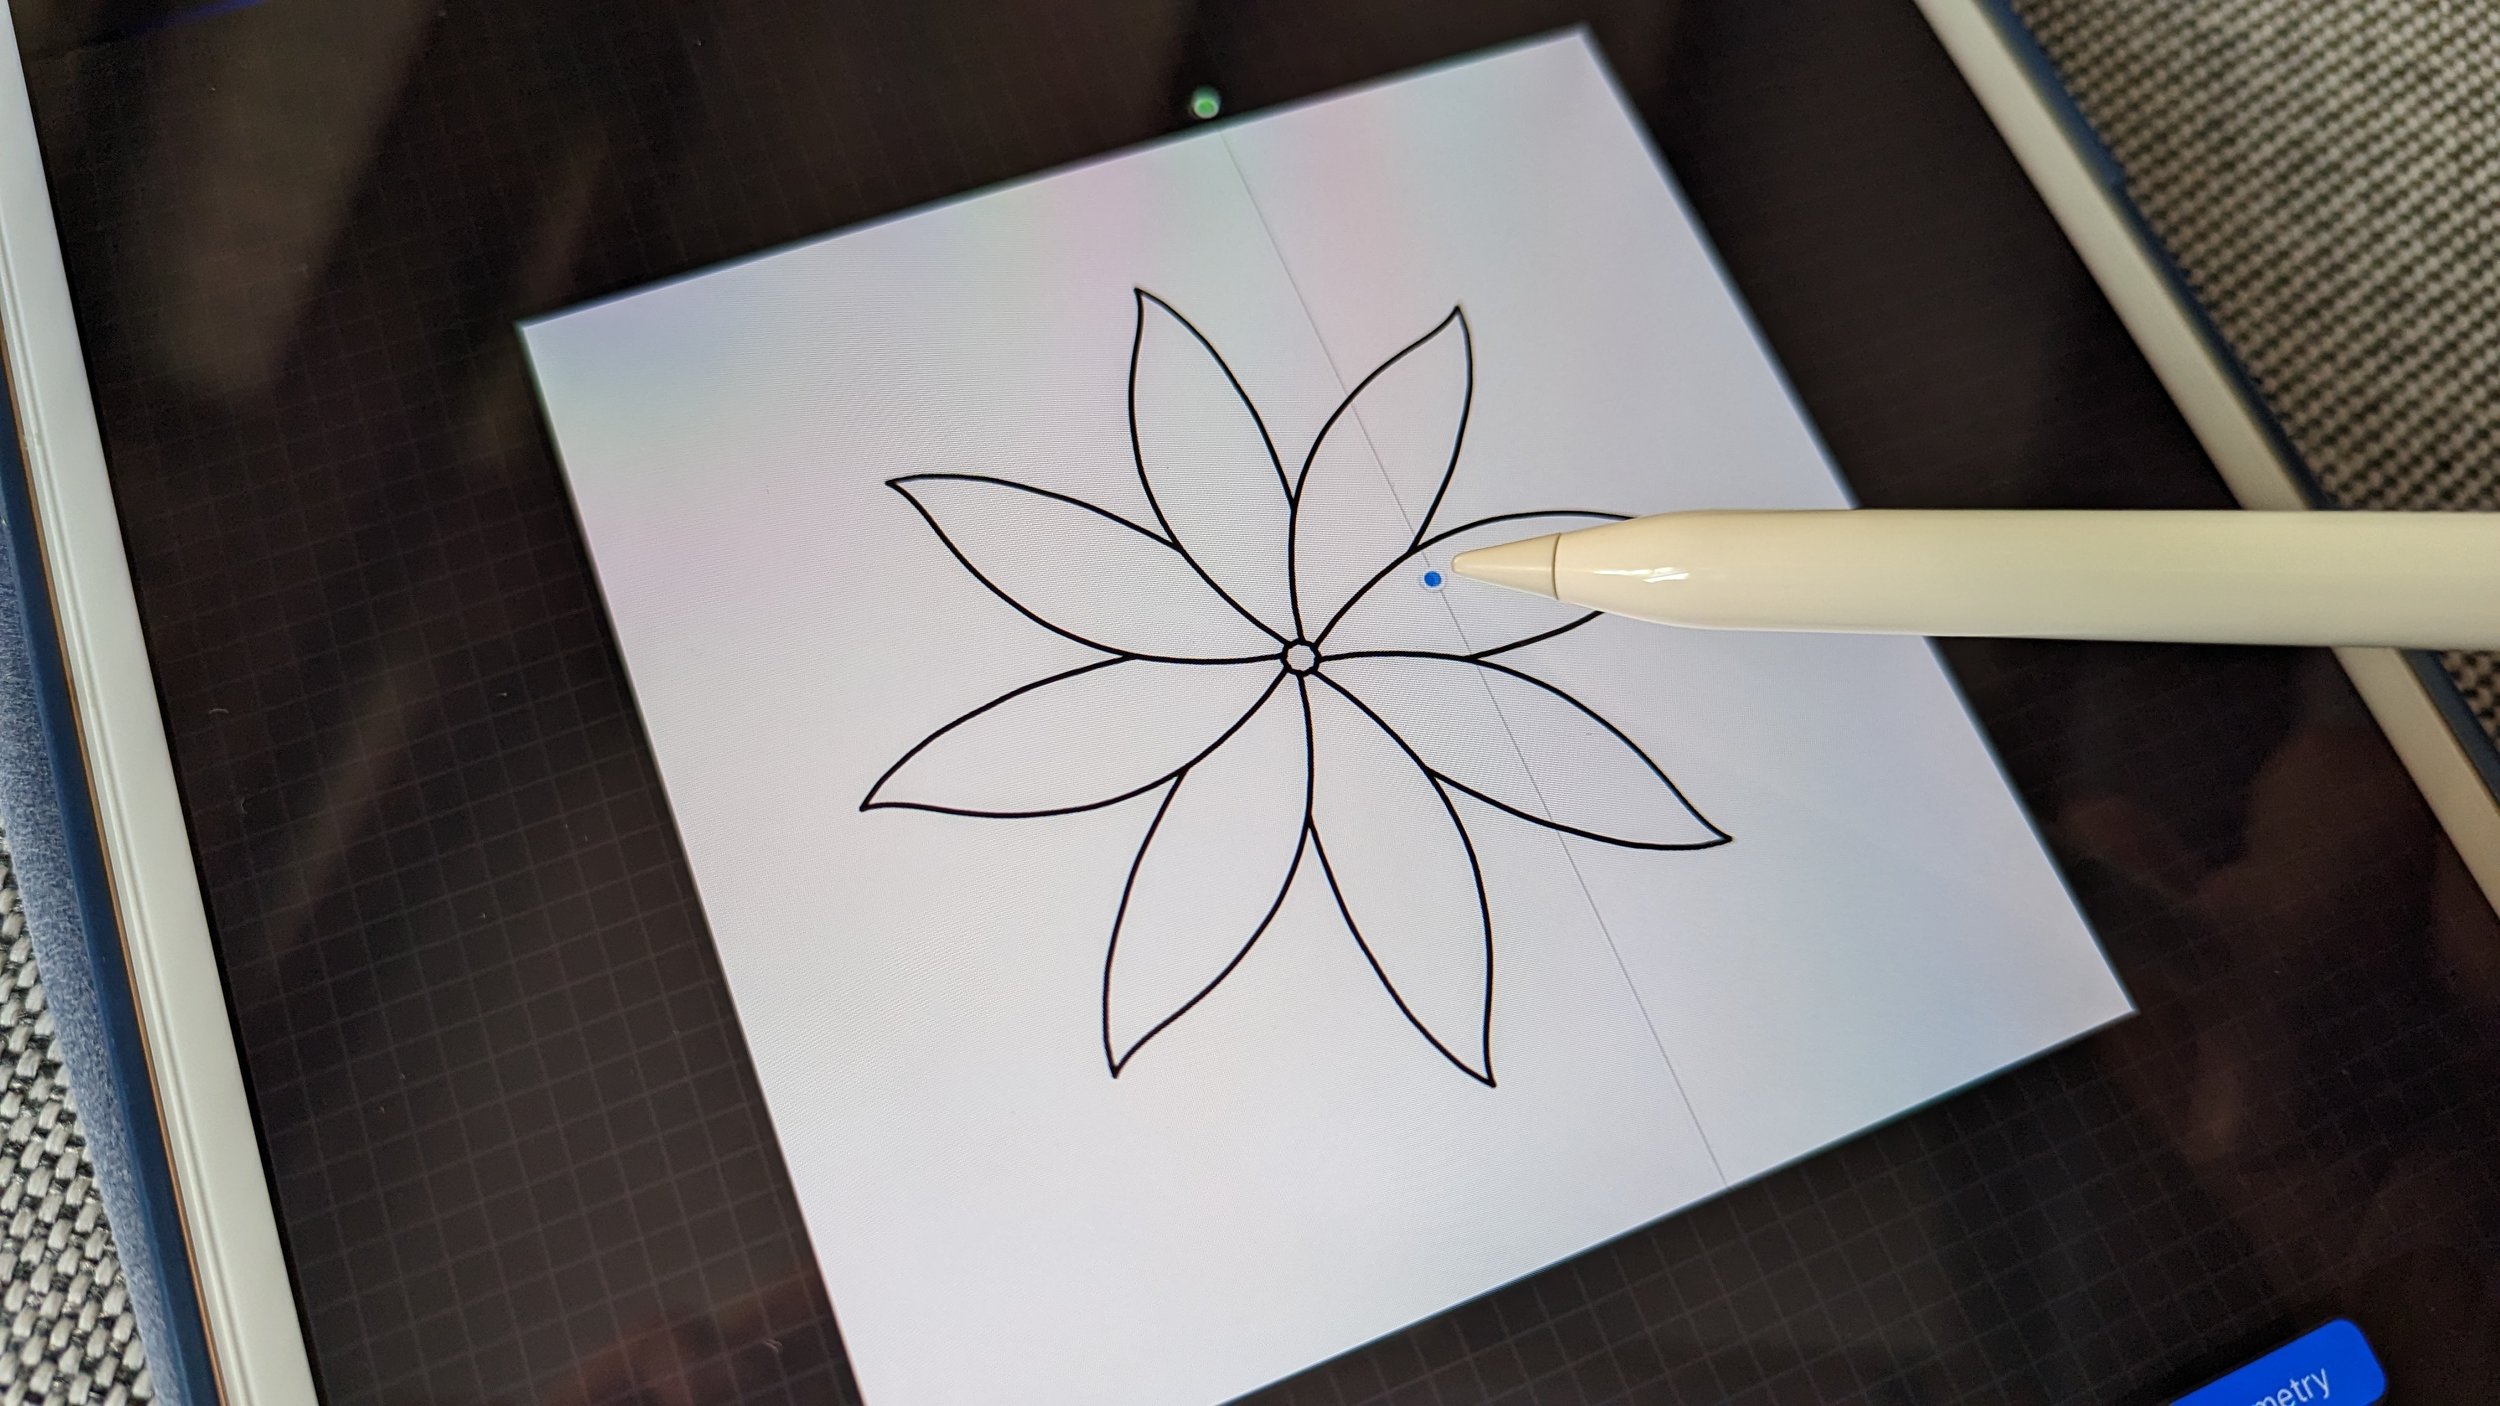
Select Symmetry. You will notice a vertical line appearing in the middle of the canvas - the default symmetry will be vertical symmetry. With the symmetry tool activated, any stroke or mark you make on one side of the symmetry line will be mirrored on the other side. Ensure your layer has Drawing Assist on to activate the symmetry tool.
If you want to explore additional symmetrical options, click Options on the bottom left of the panel.
There are several different symmetry types available in Procreate and are explained below:
Vertical: Creates a mirror effect on both sides of the canvas.
Horizontal: Generates a mirror effect on the top and bottom of the canvas.
Quadrant: Creates four identical sections of the canvas.
Radial: Generates a radial symmetry effect around a central point.
Rotational symmetry refers to a feature that allows you to create symmetrical artwork by rotating a brush stroke or shape around a central point. It enables you to generate repetitive patterns or designs with perfect rotational balance.
You can also adjust the symmetry line or rotate it. This allows you to have more control over the symmetry effect. For example, you can shift the symmetry line to the left or right when in Vertical symmetry by pressing the blue dot at the center.
You can also rotate the line by selecting the green dot on the top.
To turn off the symmetry tool, return to the Drawing Guide menu by clicking the wrench icon, then Canvas, and toggle off the Symmetry switch.
Great, you can now use the Symmetry tool to draw symmetrical objects much easier in Procreate! With symmetry, you can uniquely create captivating designs such as mandalas, radial patterns, and other intricate art.
I hope this tutorial was helpful in learning more about foundational tools in Procreate. Once you get the hang of foundational tools, you can then learn about advanced tools. All of this would be important to the growth of you becoming a more well-rounded and confident digital artist. You will also learn how to use and leverage these tools effectively and, in turn, draw art that fits your creativity, personality, and style.
Happy creating! What symmetrical art are you planning to draw? Share it in the Comments below, I would love to know!
Good luck,
Interested in working with me? Fill out the Contact Form.
Check out my portfolio or my latest work on my IG @chubcatart!
For brand collaborations, check out my media kit.
If you are looking to build a strong online presence with your art, you are in the right place! Here at ChubCatArt you will find resources that will help you stand out and be seen in your art journey. Take the leap and let’s get creative together! Read more.
You might also enjoy…
